Aloha!
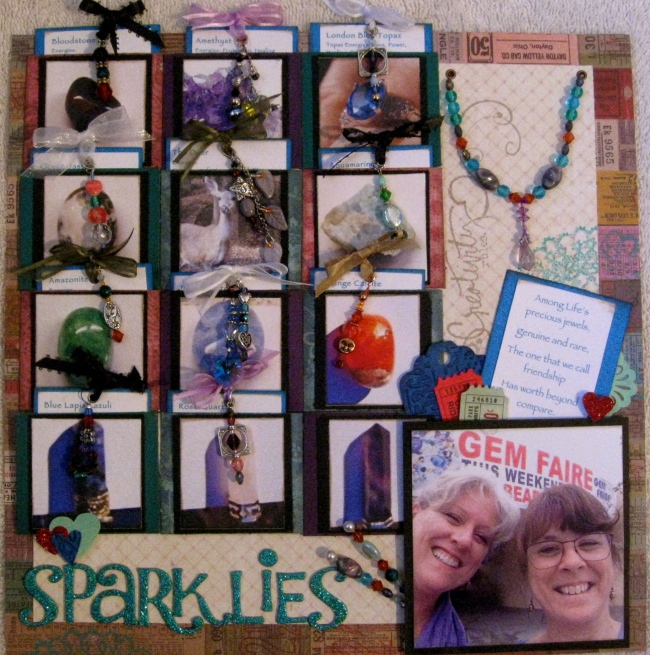
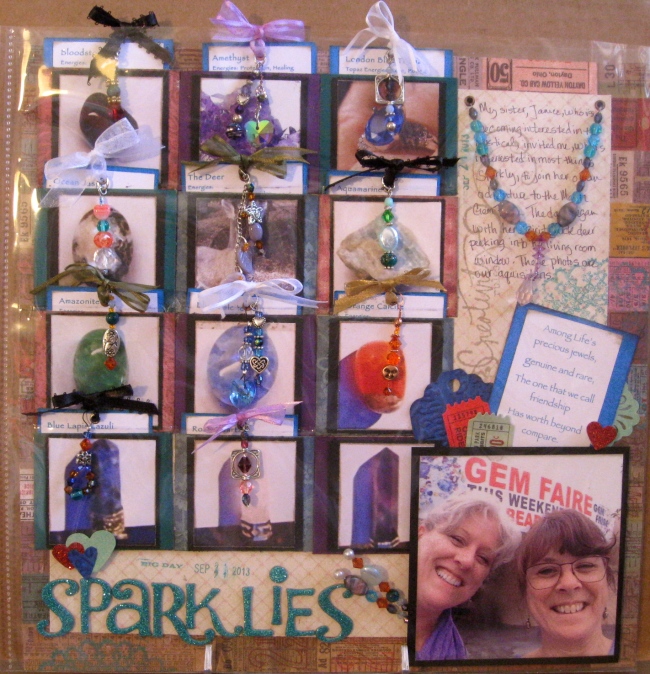
As promised two weeks ago, here is my scrapbooking/beading combination page. This page is about the trip that my sister and I took to the Marin Gem & Mineral Faire on Sept 21. This blog will largely display photos showing the steps I took to put this page together. Wish me luck! Let’s see how this goes~
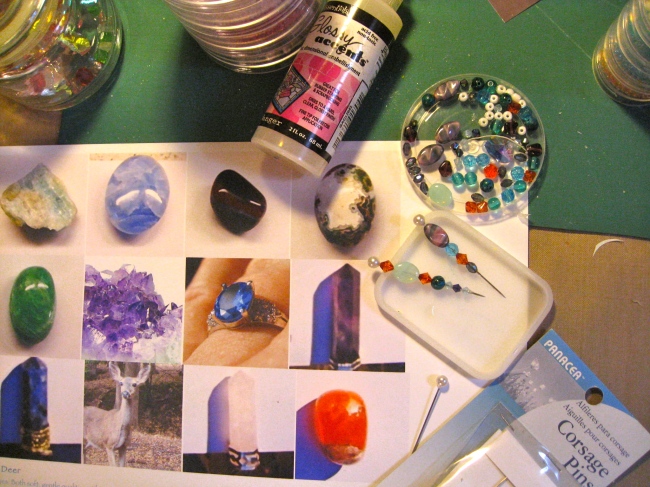
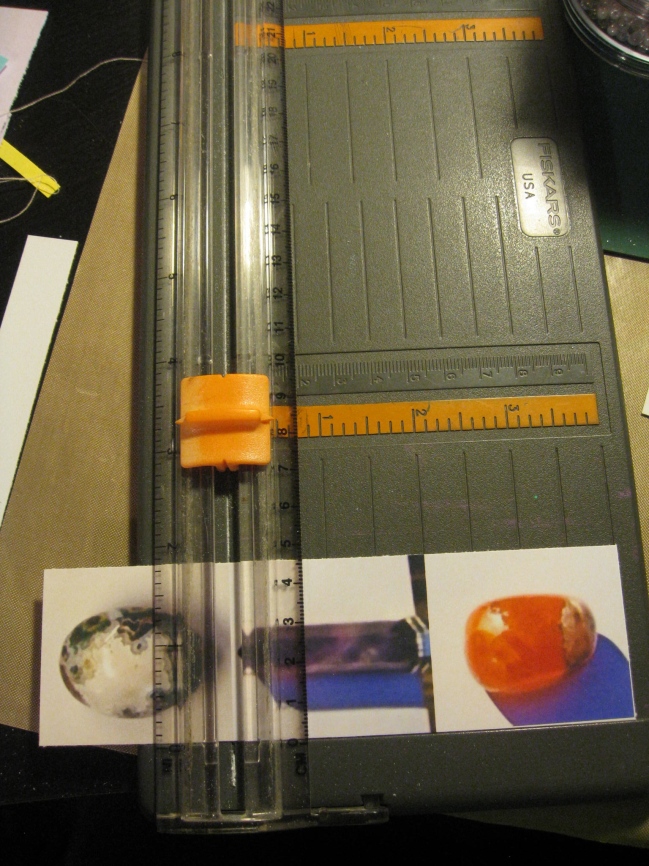
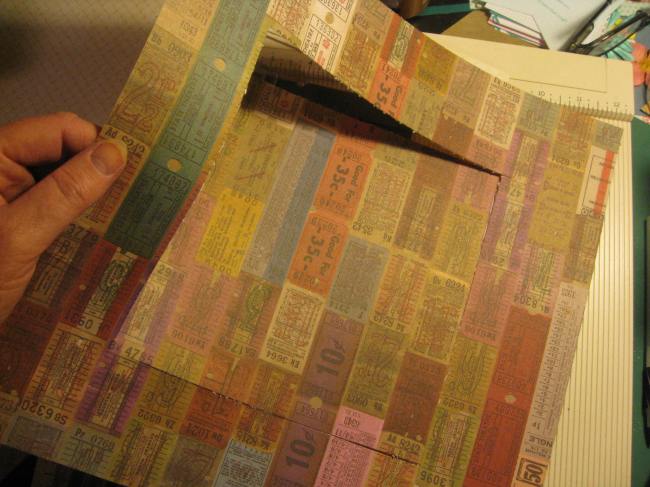
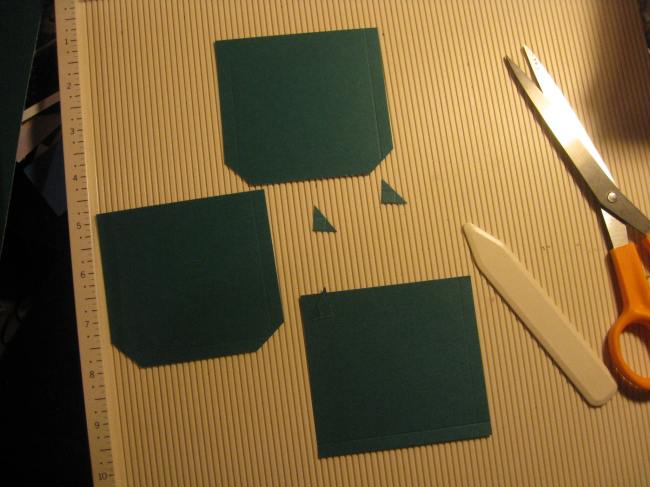
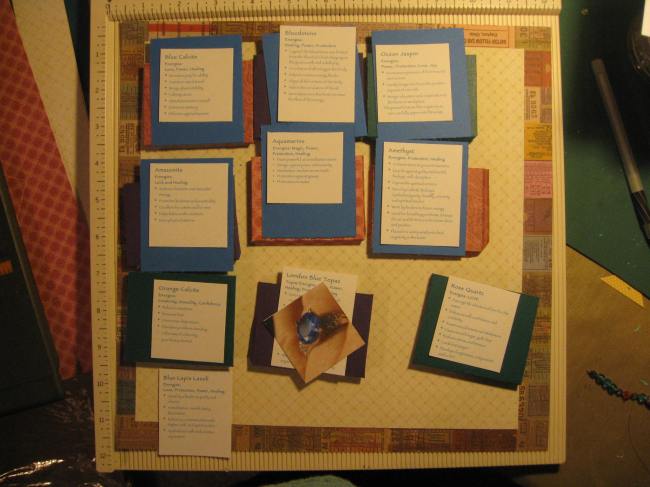
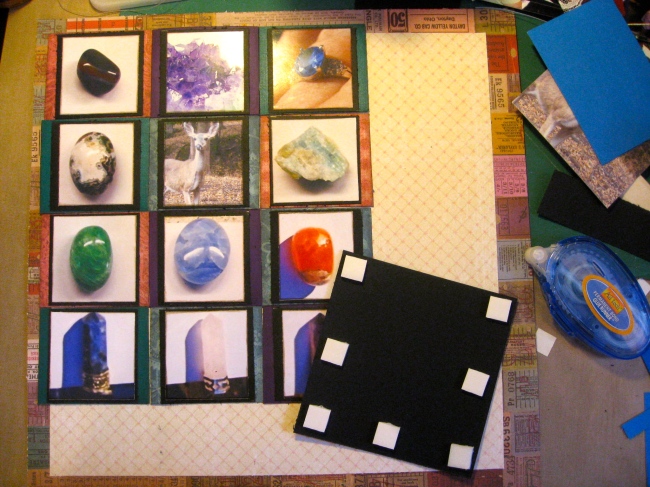
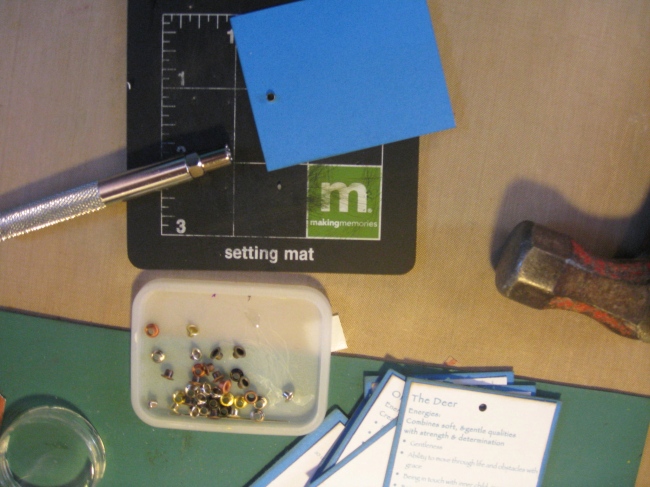
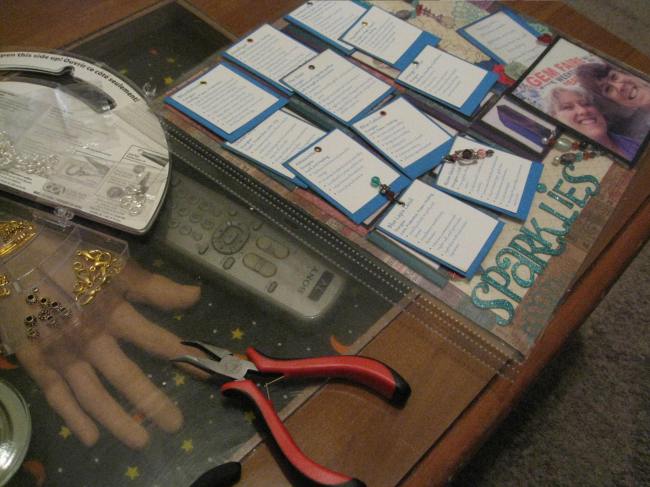
The first step was to size and print the photos out on Kodak photo paper. Then I made the jeweled stick pins to capture the colors of the minerals and stones that we bought that day. Next I use a Fiskars paper trimmer to cut the photos apart and size them. I knew I was going to use this ‘ticket’ paper (it might have been Tim Holtz?) for page background. I cut out the middle because it is too cool to waste it all covering it up. Next, I made pockets to hold the description cards, which also serve as a grid work of photo frames. If you try this, just decide on the size of pocket/mat you’ll need and make each one about 1/2 inch larger. Then use a scoring board (mine is from Martha Stewart) to score 1/4 inch to fold under, trim the corners back, and adhere to your layout to form the pockets.
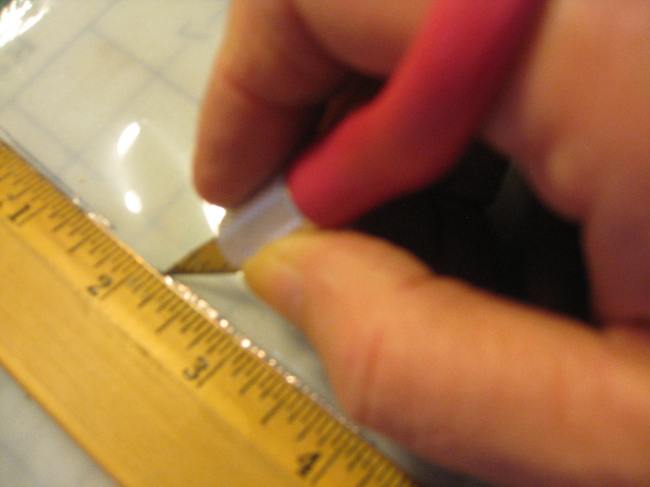
I decided to use an additional black mat for the photos to add some continuity to the series. I raised the photo of my sister and me with pop dots to get dimension and so that I could tuck embellishments under it. Planning to add tag pulls to the descriptive cards that will be tucked into the pockets, I needed to slice openings into the page protector. This was done with a fine-line permanent marker; but I worked quickly and I was able to remove ‘most’ of the ink after I sliced the openings with a babywipe. I slid an 8×11 cutting board into the protector to avoid cutting all the way through. I used a ruler as my straight edge and proceeded slowly and steadily.
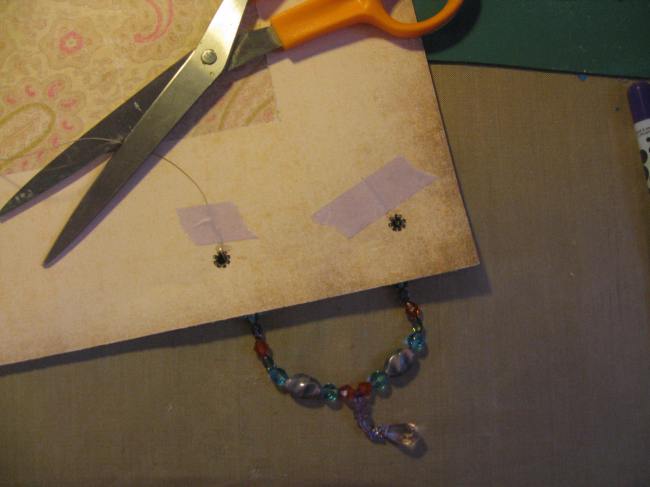
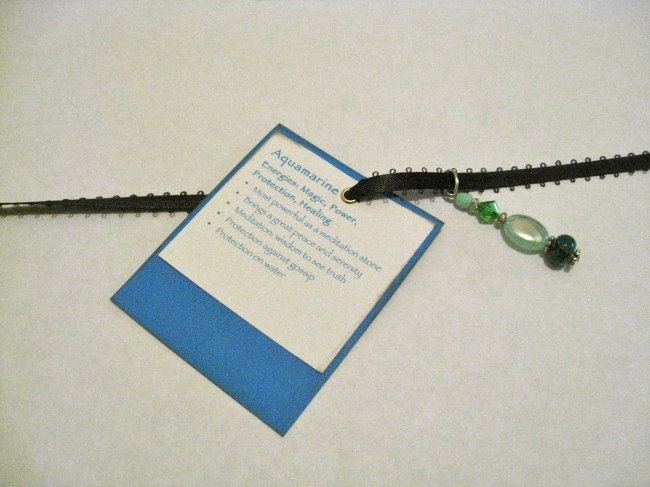
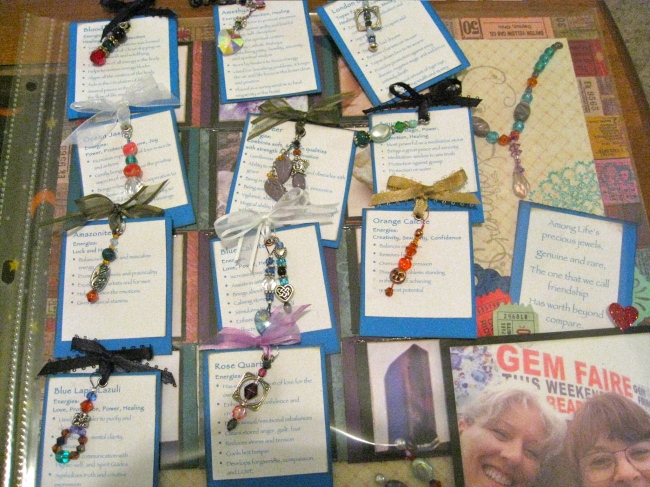
Here comes the beading! Using beads that matched the colors of the stones we purchased, I attached a string of beads through rivets. On the back of the page, I used some Washi tape to hold the upholstery thread down. Next I applied dots of Glossy Accents near the rivets as a stronger, more permanent adhesive. I added rivets and semi-coordinated beads (from my stash) as pulls for the cards. This was great busy work to do during the new fall lineup!
Lastly, I added a date stamp and some journaling about my adventure with my sister. I put the main page into the sleeve and then slid in the interactive information cards leaving the card pulls dangling on top.
Truth: Generally, I don’t like making my scrawl into a permanent record; but as I look at my mother’s handwriting, I realize even my scribble will provide a memory for my kids some day. Even if you chicken out most of the time and go for pretty fonts from your computer or an actual typewriter (!!!), do try to add some handwriting occasionally. Scrapbooks are about making memories for you and for the ones you love.
Thank you for visiting. I hope you enjoy the layout just a fragment as much as I enjoyed saying that playing in My Isle of Entropy was my homework this week!
